A Step-by-Step Guide to Installing a Car GPS Navigator
Navigating unfamiliar roads can be stressful, but a car GPS navigator can transform your driving experience. This step-by-step guide will walk you through the installation process, making it easy even for beginners. We’ll cover everything from choosing the right device to securely mounting it in your car.
Choosing Your GPS Navigator
Before you even think about installation, you need the right GPS navigator. Consider these factors:
- Screen Size: Larger screens are easier to read, but they also take up more space on your dashboard. A 7-inch screen is a good balance for most cars.
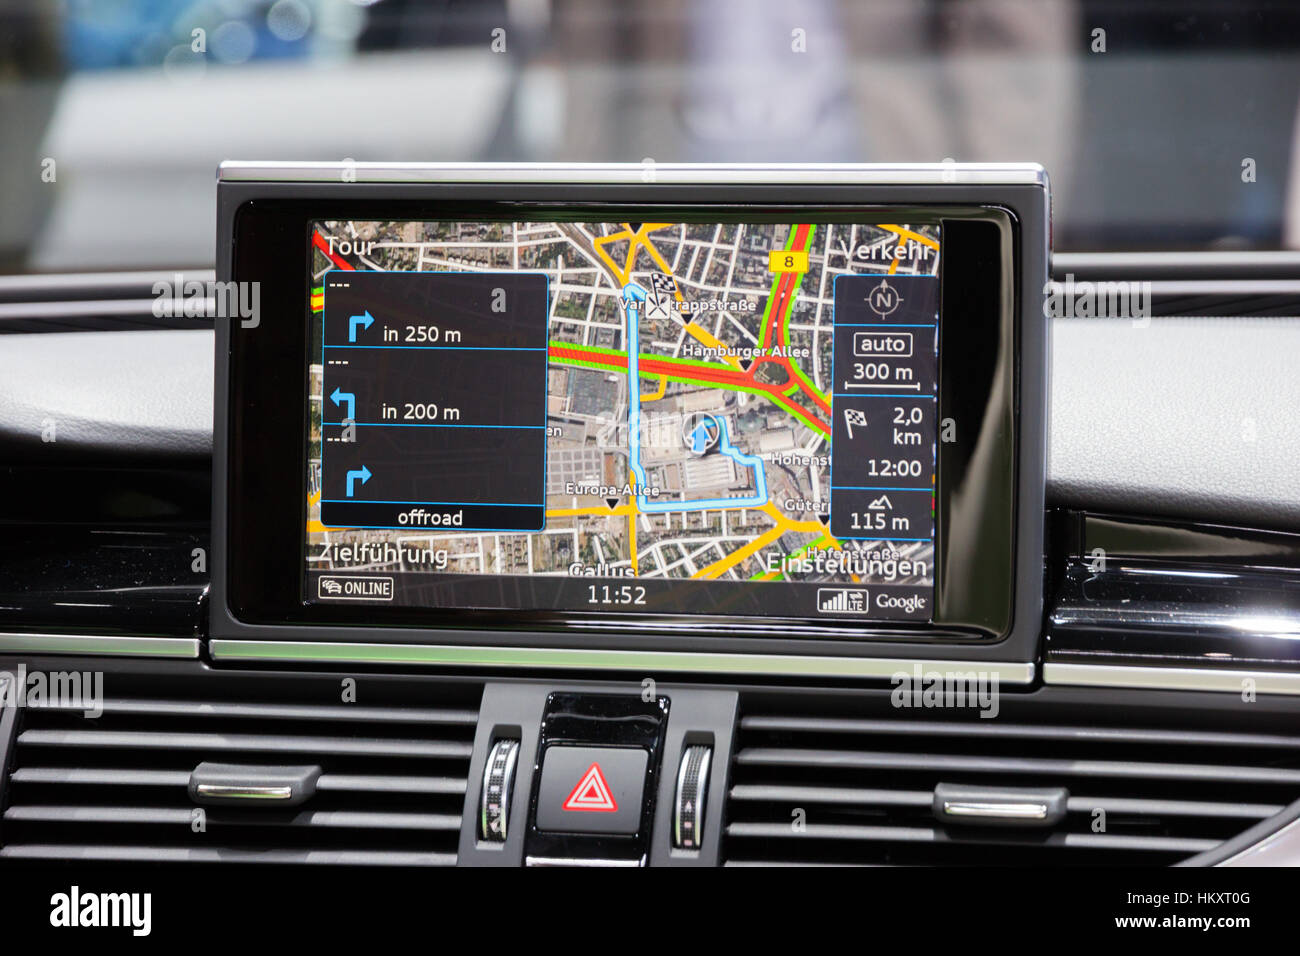
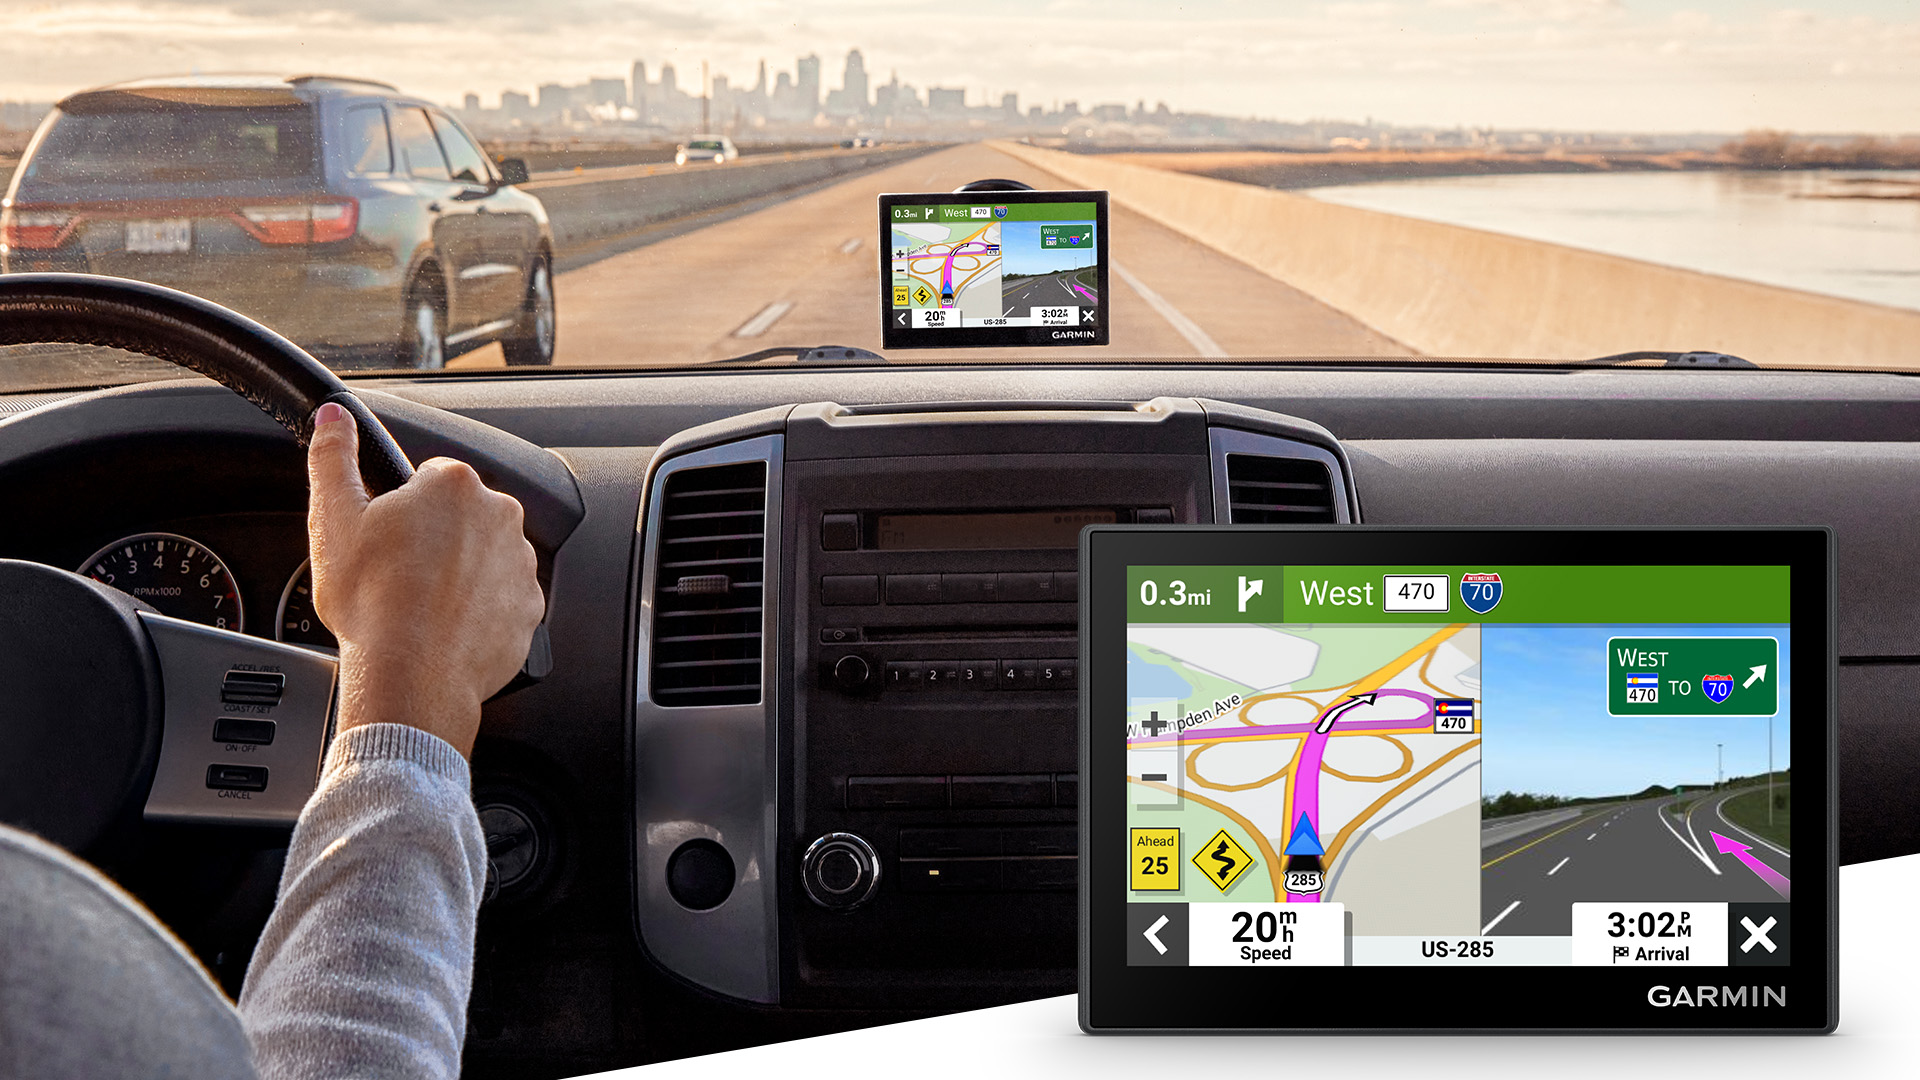
- Navigation Features: Look for features like lane guidance, real-time traffic updates, points of interest (POI) search, and voice control. Some higher-end models even offer advanced driver-assistance systems (ADAS).
- Mounting Options: Most GPS navigators come with a suction cup mount, but some offer dashboard or windshield mounts. Consider your car’s dashboard design and personal preferences.
- Brand Reputation: Research different brands to find one known for reliable navigation and durable devices. Look for reviews and compare features before committing to a purchase.
Gathering Your Tools and Materials

Once you’ve chosen your GPS navigator, you’ll need a few things for installation:
- Your GPS navigator and its accompanying accessories (usually a power adapter and mounting bracket).
- A microfiber cloth for cleaning your windshield or dashboard.
- Isopropyl alcohol (optional, for extra cleaning).
- A power adapter suitable for your car’s 12V outlet (cigarette lighter).
Step-by-Step Installation Guide

Let’s get started with the installation:
1. Cleaning the Mounting Surface
Thoroughly clean the area where you plan to mount your GPS navigator. Use a microfiber cloth with isopropyl alcohol (if using) to remove any dust, grease, or fingerprints. A clean surface ensures a secure and stable mount.
2. Attaching the Mounting Bracket
Most GPS navigators use a suction cup mount. Firmly press the suction cup against the cleaned surface, ensuring it makes complete contact. Some may require a twisting motion to fully activate the suction. Alternatively, if your device uses a dashboard mount, follow the manufacturer’s instructions to securely attach it. Check for stability before proceeding.
3. Connecting the Power Adapter
Plug the power adapter into your car’s 12V power outlet (cigarette lighter). Make sure the adapter is securely connected to both the outlet and the GPS navigator. Test the device to confirm that it powers on correctly.
4. Mounting the GPS Navigator
Carefully place the GPS navigator into the mounting bracket. Ensure it’s securely fastened and won’t easily detach while driving. Adjust the angle of the device for optimal visibility.
5. Initial Setup and Calibration
Once the device is mounted and powered on, follow the on-screen instructions to complete the initial setup. This usually includes setting your preferred language, units (metric or imperial), and connecting to your car’s Bluetooth (if applicable). Some devices may require a calibration step to ensure accurate navigation.
Troubleshooting Common Installation Issues

Even with careful installation, problems can arise. Here are some common issues and solutions:
- Suction Cup Not Sticking: Make sure the surface is completely clean and dry. Try a different mounting location or use a different type of mount.
- Device Not Powering On: Check the power adapter connections at both the GPS device and the car’s outlet. Try a different outlet or power adapter if necessary.
- Poor GPS Signal: Ensure there are no obstructions between the GPS device and the sky. A heavily tinted windshield or metal shielding can weaken the signal. Try repositioning the device.
Comparing Popular GPS Navigator Brands
The market offers a wide selection of GPS navigators. Here’s a brief comparison of some popular brands to help you make an informed decision:
(Note: Specific features and pricing can change. Always check current models and reviews before purchasing.)
| Brand | Strengths | Weaknesses |
|---|---|---|
| Garmin | Extensive map coverage, reliable performance, durable devices | Can be pricier than some competitors |
| TomTom | Good traffic information, user-friendly interface, frequent map updates | Some models may have limited features |
| Magellan | Affordable options, decent feature set | Map updates may not be as frequent as other brands |
This table provides a general overview. You should delve deeper into reviews and specifications for the specific models you’re considering.
Practical Tips for Using Your Car GPS Navigator

Once your GPS navigator is installed, here are some practical tips for getting the most out of it:
- Plan your routes in advance: This helps you avoid unexpected delays and ensures you arrive on time.
- Update your maps regularly: New roads and changes to existing routes are frequently added. Regular updates are essential for accurate navigation.
- Use speed camera alerts: Many GPS navigators offer speed camera alerts, helping you avoid speeding tickets.
- Adjust settings to your preference: Customize settings like voice guidance volume, map style, and route preferences to enhance your driving experience.
Installing a car GPS navigator is a straightforward process. By following these steps and tips, you can significantly improve your driving experience and travel with confidence. Remember to consult your specific device’s manual for detailed instructions and troubleshooting tips.


